
A Railway Emerges
02 May, 2018

A Maxitrak Blog
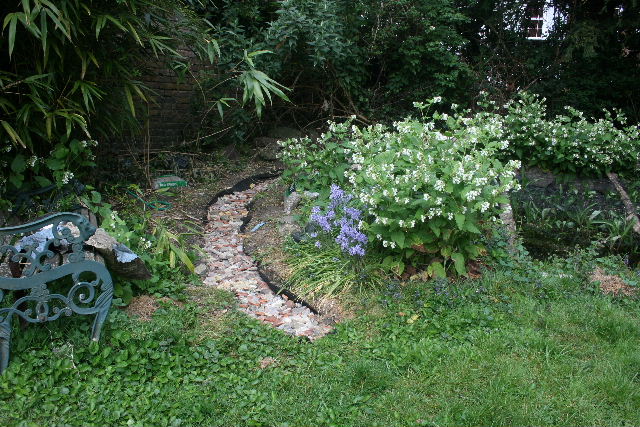
Just after Easter on 2007, the line was started. We decided on a relatively easy section to begin with, this was the curve around the pond, nothing difficult to start but after just a couple of track panels we were into the rockery on the far side of the pond. This rockery was aptly named, it proved to be about ninety percent hardcore, including brick, concrete and stone. No wonder it only grew weeds! Each piece of hardcore was greeted with equal enthusiasm knowing how useful it would be for the track bed. I decided not to excavate too deeply for the track base as the soil was pretty hard. I dug down about 100 mm, then laid a weed inhibiting membrane as sold to go under decking etc. This woven material allows drainage but stops weeds pushing through. On top came a layer of hardcore hammered into small lumps to give a firm base to the track. We had some work done on the roof of the house and as a result, had a large pile of broken Kent peg tiles to dispose of. This was “good stuff” when broken into small pieces and levelled to take the track. Once laid on the tile bed stone was added to fill the last voids, giving a good economical track ballast using as much available material as possible.
This has been down nearly a year now and has proved serviceable, though as the excavation is shallow I have had to do a reasonable amount of re-ballasting especially on embankments which are always inclined to settle. This is particularly noticeable where an embankment joins a bridge as the bridge stays firm while the embankment settles. As a test track, I have been keen to try different types of sleepers, the first section is softwood on ten foot radius curved panels. This was originally a portable track to be used on open days at the factory but the uneven nature of our car park proved unsuitable. I anticipate a short life for these sleepers and expect to replace them with plastic sleepers when they become unserviceable but it will be interesting to see how long this takes. The next sections were laid in hardwood sleepers using my old Cromar White portable track. This is over thirty years old but has to date been kept in the garage most of the time. We shall see how much better they fare than the softwood ones! I also have a few lengths of aluminium sleeper track panels. Though these sleepers are no longer obtainable they were too good to be left out! All this is used with standard aluminium rail but on the trestle bridge steel is used throughout the rail being the main structural member of the bridge.
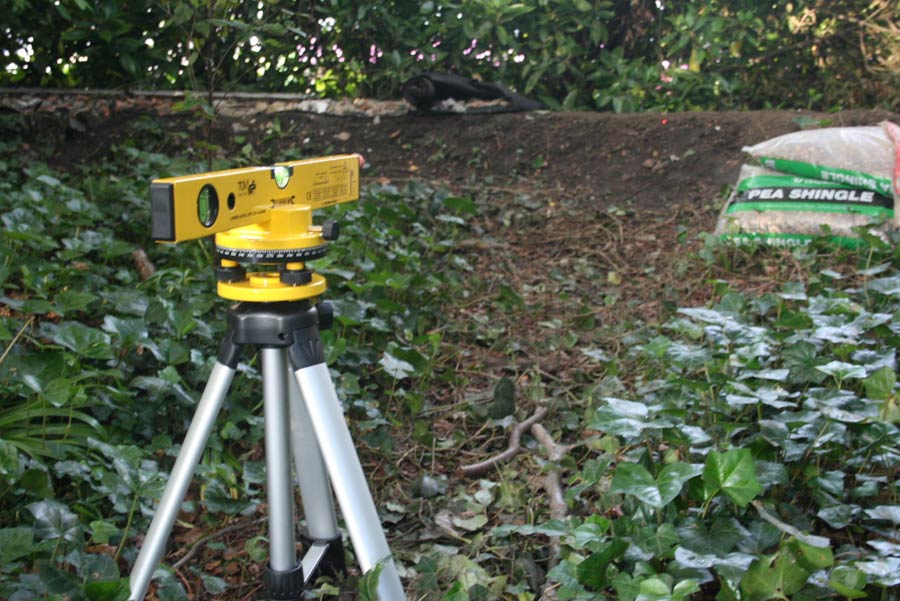
As we come off the curve around the pond we start down the gradient, the first section of track was laid by working gradients out with a stout piece of timber and a spirit level. This is the time-honoured method and is best done by hammering pegs into the ground and working the gradient from the tops of the pegs. This can be a bit hit and miss and so was pretty soon superceded by the use of a laser level. These are quite cheap nowadays and mean the pegs can be spaced much further apart. Do not be tempted to do levels by eye, even when things look flat you will be surprised how out of true it will turn out to be.
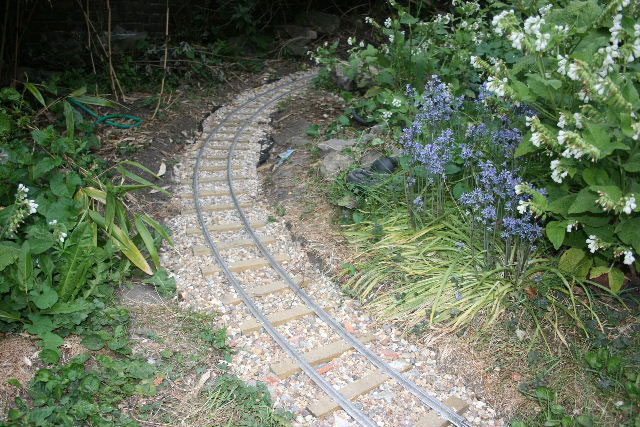
I would not like a completely flat line as I feel you have to really drive a line with gradients, as a rule for maximum loading you should stick to no more than one in one hundred (1%). If you are looking for a more interesting drive and do not mind reducing the train loading then one in fifty is a good maximum (2%). I have a difficult location so have gone for one in forty (about 2.5%), this reduces loading to half the normal number.
Adhesion is the main problem and on occasions may be sufficient to prevent an ascent, though a little sand sprinkled on the line usually gets the job done even in wet weather. The steepest grades should be on straight or gently curved sections, the tight ten foot curves on my line are mostly on the flat. I wanted to establish how the line would run on the steepest grades so laid the first section quite steep. This is now the most difficult section, not helped by the fact that the panels were not all laid to the same grade. There is a great temptation to get a track panel down and try it out, this is not really the best approach as it is easier to grade a longer section of say five to six panels at a time with the laser level. As this section is laid with softwood sleepers I am looking to re-grade this part of the line when the sleepers need replacing, this will not be before the rest of the line is done!
© Maxitrak Ltd
10-11 Larkstore Park,
Lodge Road,
Staplehurst,
Kent,
TN12 0QY
Email: Info@maxitrak.com


